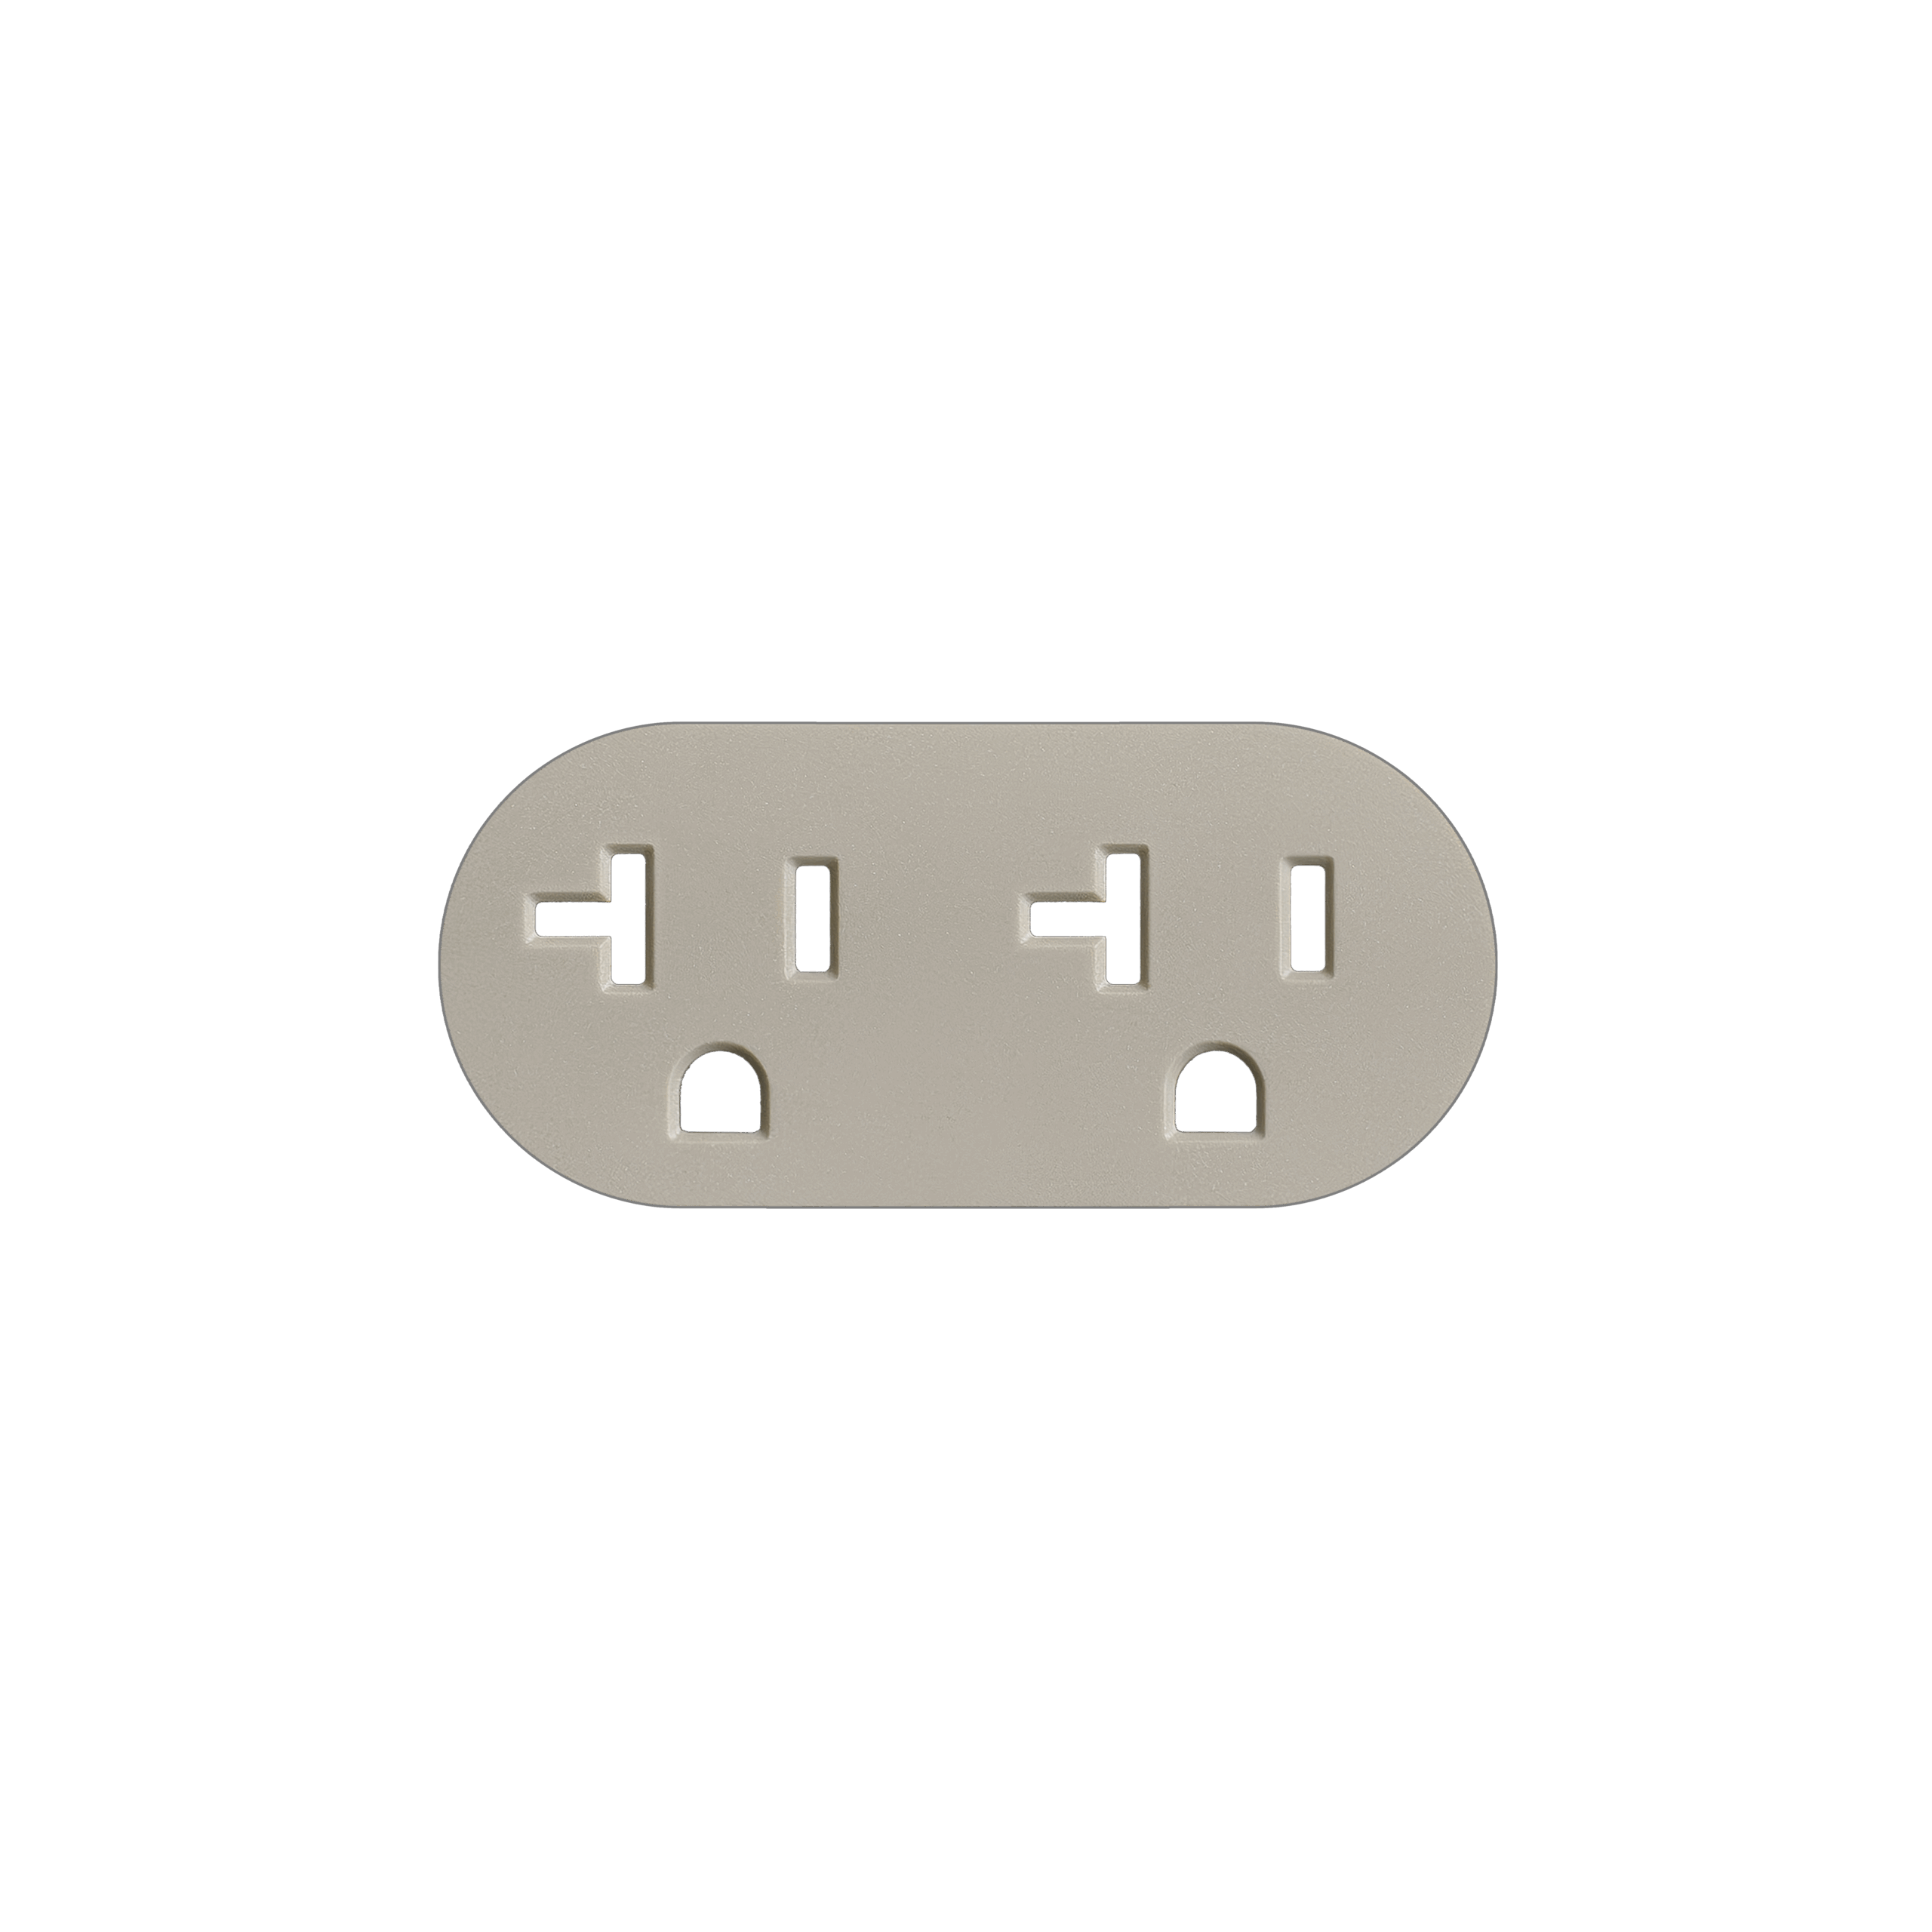
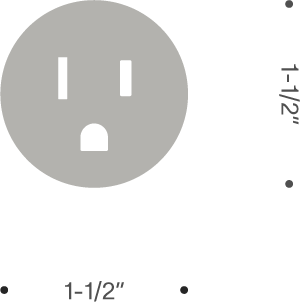
Field painting is an option, but it might show wear sooner. When painting cover plates in the field, it’s important to follow proper surface preparation and application techniques to ensure a durable, high-quality finish.
Start by applying a light coat of a suitable bonding primer, such as XIM Primer/Bonder or a comparable product. Always follow the manufacturer’s instructions for application, and be sure to match the primer type to the paint being used — compatibility is essential for adhesion and long-term durability.
Since cover plates are frequently touched and exposed to wear, a more resilient type of paint is recommended. Lacquer-based, oil-based, or polyurethane-based paints offer superior durability for this type of application. If water-based paints are preferred, applying a clear protective topcoat is advised to improve resistance to scratching and wear.
Prepare the paint according to the intended application method. This may involve thinning the paint to the proper ratio, based on the manufacturer’s instructions. To achieve a smooth finish, strain the paint using a mesh filter to remove any particulates or clumps.
For best results, use a small spray gun — either a detail or cap spray type — equipped with a #3 tip. Adjust the fan width to medium or wide, and set the air pressure to around 60 psi. Hold the spray gun approximately 10 inches from the cover plate and apply a light, even coat using multiple quick passes. Position the spray gun at a slight angle, around 45 degrees, to ensure the paint reaches the sidewalls of the cover plate. Only a minimal amount of paint is needed on the edges to maintain a clean profile.
Allow the paint to set briefly before rotating the cover plate to reach all sides evenly. If using a water-based finish, a clear topcoat can be applied after the paint has dried to further enhance surface protection and appearance.
